Babysitter Info Templates

I don’t know about any of you, but i haven’t really been able to get away for some me time since the start of the pandemic. But after two years, I figured I’d better start trying to live again before I completely forget how.

So I decided it was time for a little solo night out.

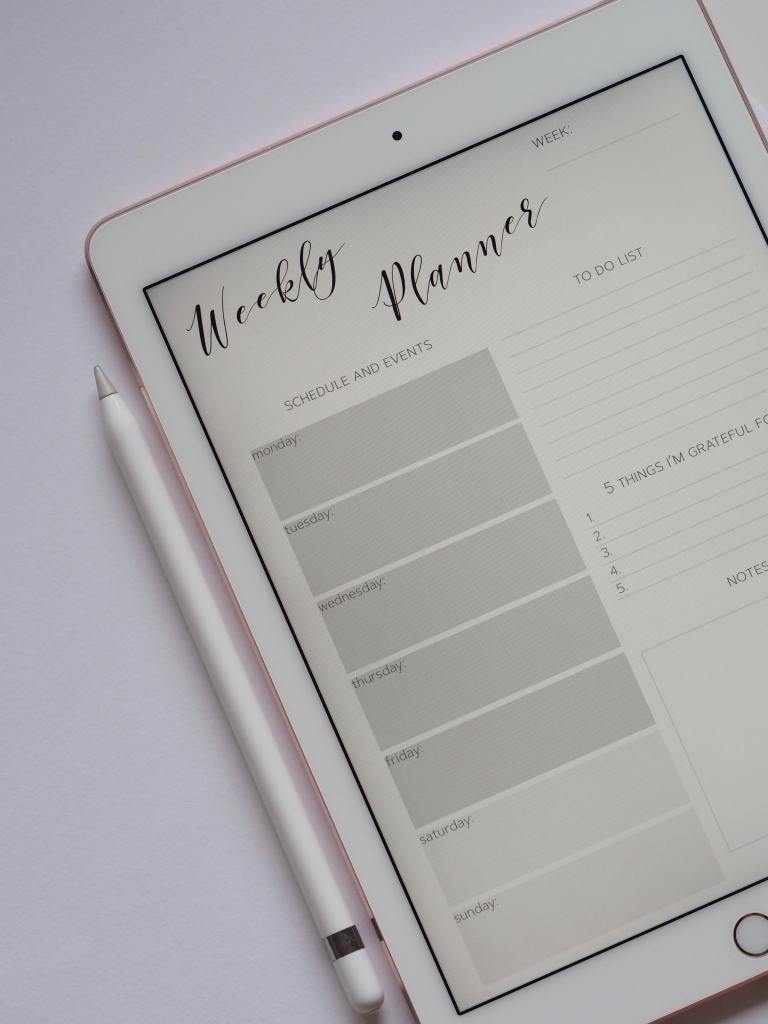
I always try to prepare my babysitter with any and all information they could possibly need while I’m gone. But to be honest, there’s so much info I need to share, I usually always forget something. Then, a few months ago, while researching for a book I’m working on about making motherhood a little easier, I stumbled across babysitter info sheets; templates that help you organize all the information you need to leave your babysitter. There are tons of different styles, but I customized my own so I could make sure it had all the features we need.

Creating Your Own Babysitter Info Sheet

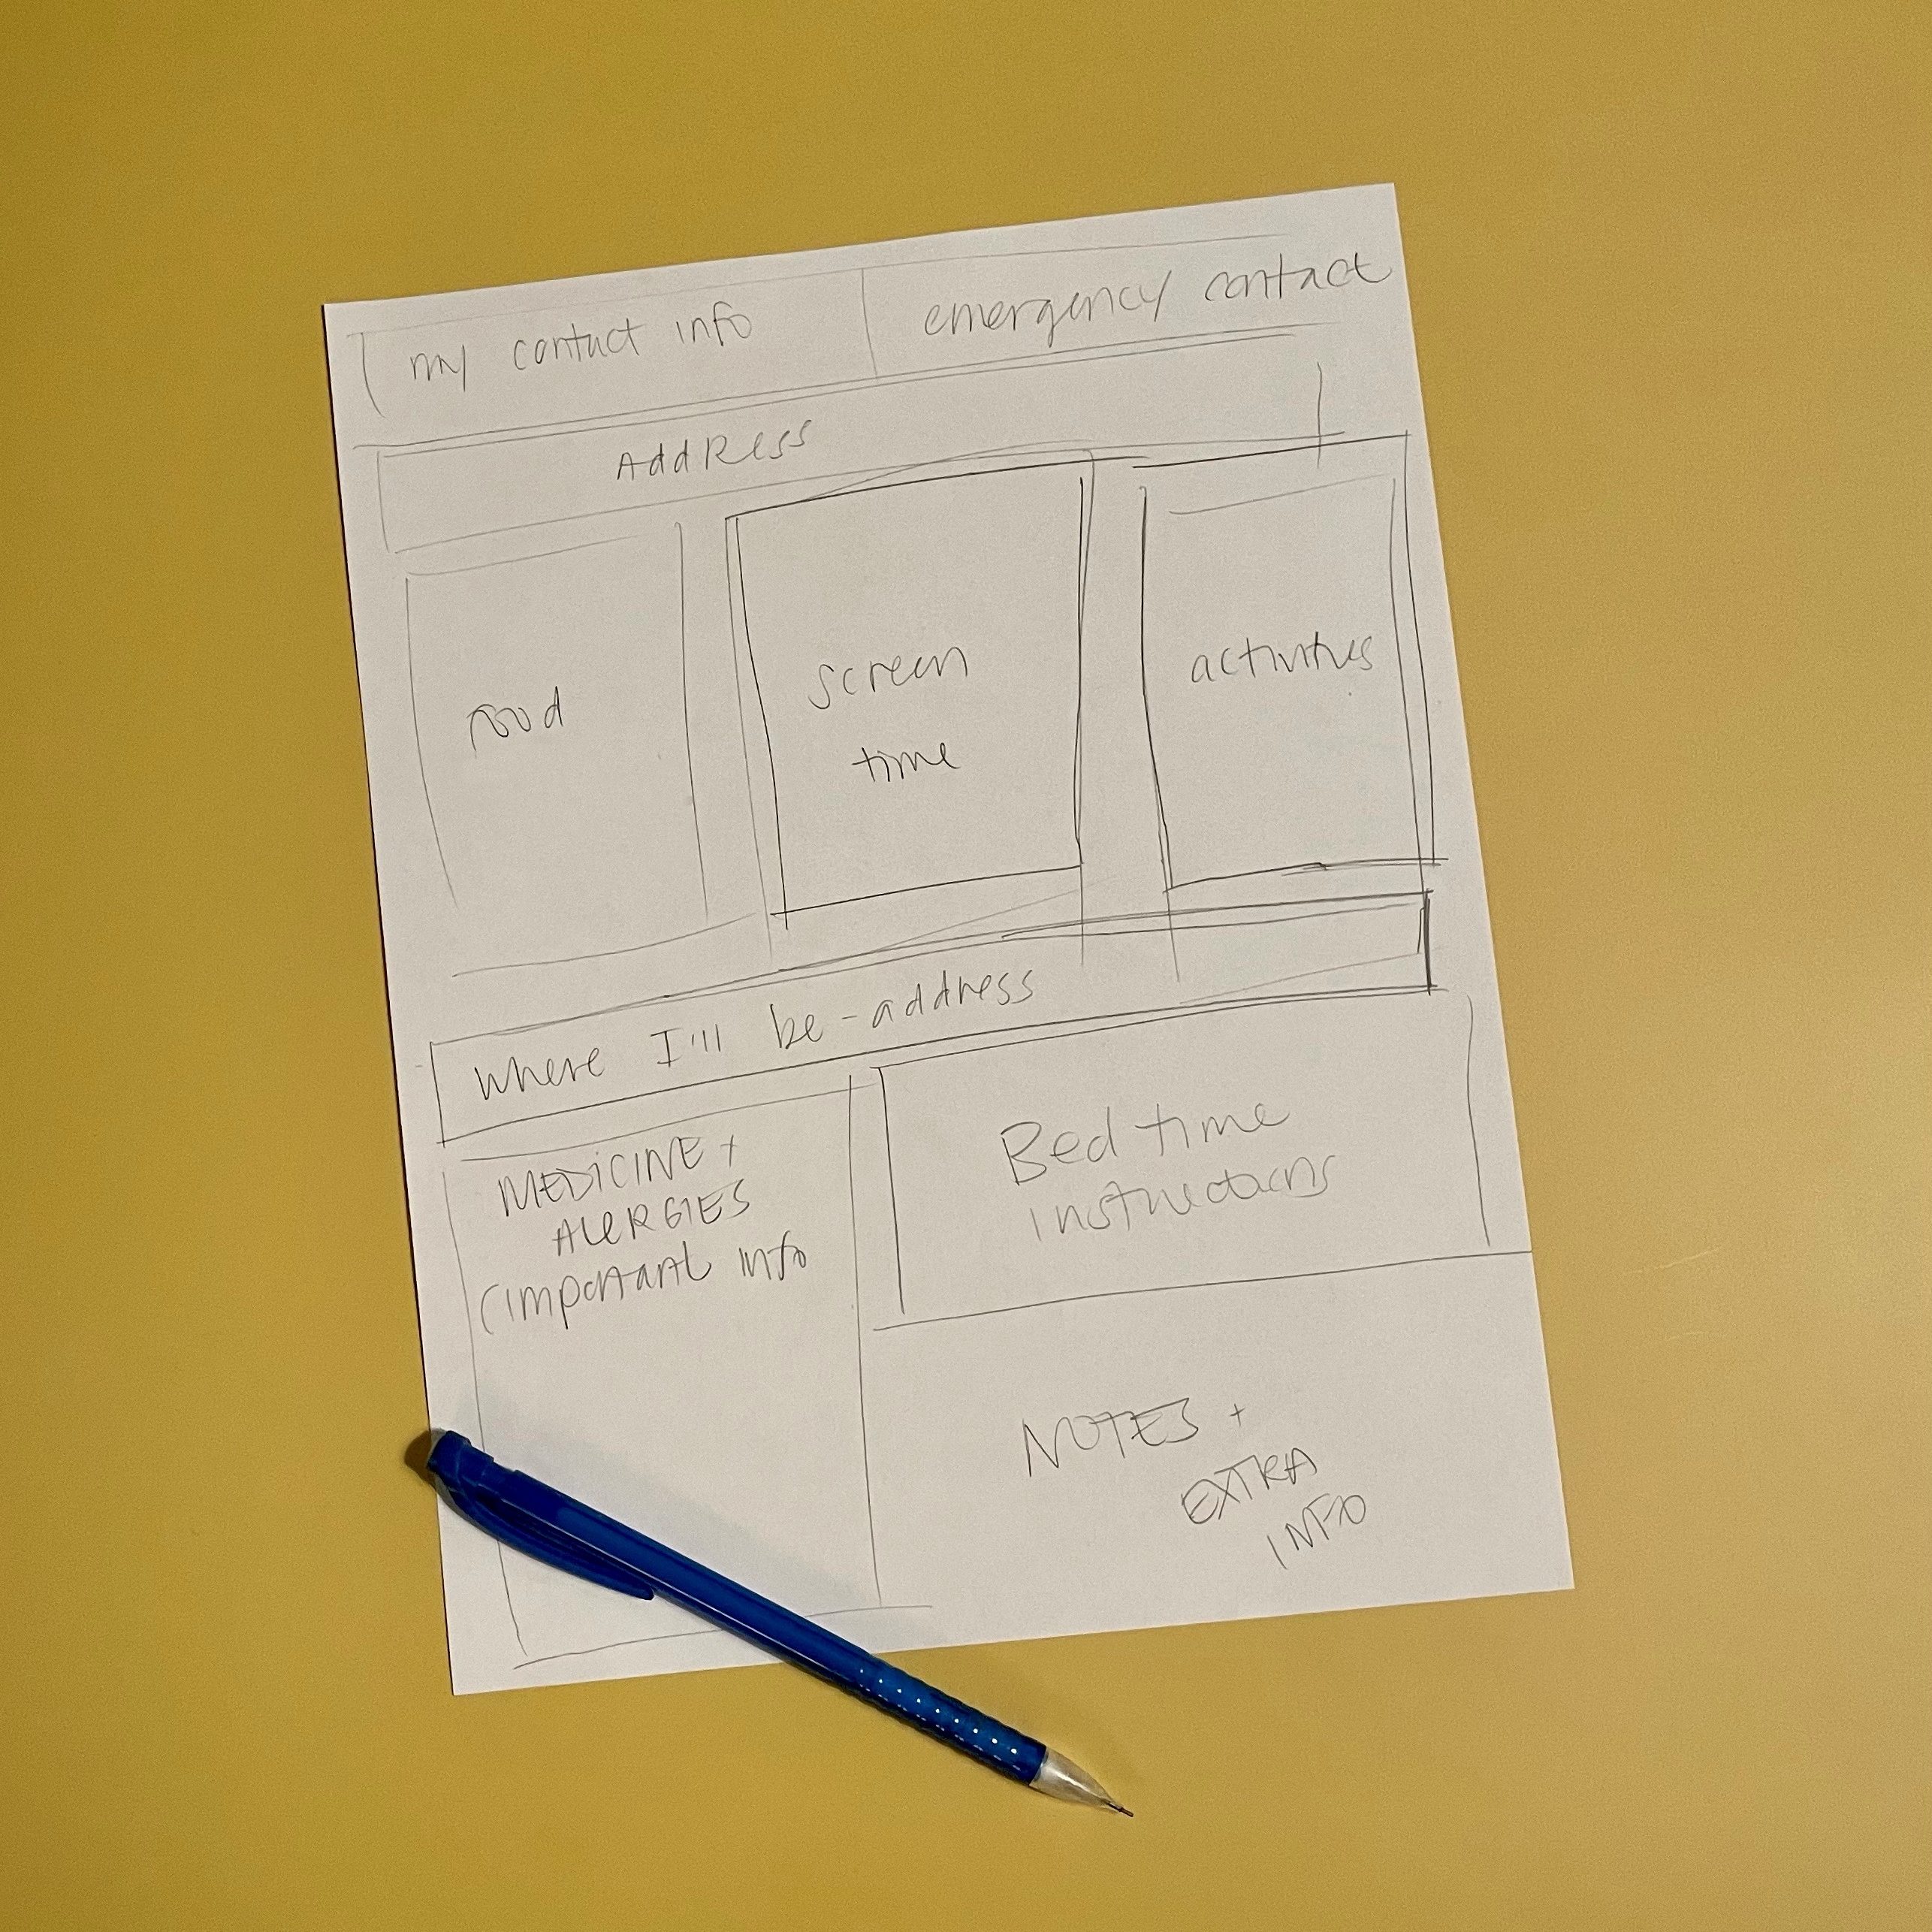
Creating your own template is pretty simple, even if you’ve never made one before. First, make a list of the important information you want to makes sure your sitter knows; this will vary depending on your family’s individual needs, but some generic things you’ll want to include are:

  • Your Name and contact Info
  • Emergency contact Name and Number
  • Your Address
  • Address Where You Can Be Reached
  • Meal Instructions (Little Bear is very particular about his favorite foods)
  • Food Allergies
  • Medication Instructions
  • Bedtime Instructions
  • Activity Suggestions
  • Screen Time Allowance + Approved Shows/Movies

Once you’ve figured out all the information you want to include on your sheet, try to think about how much room you want for each item and then use a pencil to sketch out a rough draft of your template layout.

Once you’ve found a layout that works for you, it’s time to start your final template. You can do this step digitally or by hand, whichever works best for you.

Creating a Digital Copy

Open whatever program you use to create printable documents. I use Adobe InDesign, but Pages, Word and Google Sheets will all work as well. Start by using text or image blocks to create outlines for each of the sections on your template. Keep your rough draft next to you so you can arrange your boxes on the page to match your drawing. Add text to each box that describes what information you will write in that section. At this point, your template is ready to be printed and used, but if you want to put some stylish touches, like graphics, colors or unique fonts, now is the time. Add any elements you want, being sure to keep your template clear and easy to read.

Creating a Template By Hand

Creating a copy by hand is even easier. Using a sharpie and a ruler, copy your draft of your template onto another paper. If you can find any, I recommend using card stock or thin white cardboard, to help with durability. Using a smaller permanent marker or pen, label each section of the template so you know what to write where and your sitter can interpret what information she’s reading. To make the template reusable you can frame it or use a page protector and a dry erase marker to write with. You could also make photocopies and keep a few on hand so you’re not scrambling around to find your original or make another one.

If making one yourself is too much for you, leave us a comment with your email and we’ll send you ours!

Supplies You Need to Start Homeschooling

They say the first step is the hardest one. Getting started with homeschooling can be overwhelming, so the first thing I recommend is finding a homeschool planner that works for you. There are tons of them out there. I knew that I was going to need a lot of support for our journey and that it was something new I was going to have to learn a lot about.  So I opted for a robust Montessori planning system. Digital products like these go on sale often, so it doesn’t need to break the bank. I got mine on sale from Lindsay at ModernBirthingMama.com. She’s a stay at home mom who homeschools and creates resources to make the process a little easier. I picked up her Ultimate Montessori Homeschool Binder which came with a bunch of other resources to help me create the foundation for how we homeschool.

I’ll write an itemized list of some of the resources that are essential to getting started. Ours came from a few different sources; Little Bear had been in early intervention programs and they regularly provide resources through their newsletter with helpful information and activity ideas; our team of therapists who provide us with benchmarks to watch for and creative ideas to encourage developmental progress; our pediatrician and other specialists, who help us interpret Little Bear’s needs and limitations. Your child may not be developmentally delayed, but these resources will still be able to help you understand the skills your child should have and tips for teaching them effectively. 

Here’s a full breakdown of what came with ourMontessori Planner and some of the most important resources we used when getting started:

Practical Life Skills and Activities – age appropriate life skills
Developmental Milestones – age appropriate physical/mental/emotional development
Budget Planner
Sample Daily Schedule for Toddlers/Preschoolers
Yearly Goal Setting (reflection for Mom & education)
Student Goal Setting – a breakdown of specific skills you want mastered and steps to get there
Prepared Environment Reflection/Lifestyle – is your home conducive to learning? What can you do to make it more so?
Monthly planning template
Weekly planning template
Daily Hour by Hour Planner
Weekly observations
Field Trip Planner
Weekly Activity planner
Lesson Planner – simple & advanced
Meal Prep Guide
Room/Home planner – for creating a learning environment 
Reading Log
Monthly Calendar 
Goal Trackers

In addition to this list, which will help you organize your curriculum and lesson plans, you’re going to need some actual activities to fill their day with. Thankfully, there are a ton of resources with fun ideas to play and learn with your children in engaging ways, especially since most of us have spent the last 8 months at home with our kids, trying to come up with ways to keep everybody from going crazy.

Instagram is my absolute favorite place to find activities to fill our daily schedule. There are so many amazing creators on Instagram with some really unique, inexpensive and kid friendly activity ideas, and access to Instagram is free. While some creators do peddle high priced products, the vast majority don’t and are just regular people like you and me, trying to have fun, teach their kid, and not break the bank or buy a bunch of stuff. My top 3 Instagram accounts for play and learn activities are:
1. @mothercould
2. @makeitmontessori
3. @bigpictureplay
4. @playlearnthrivekids
5. @napacenter

And That’s really it! This list seems long and maybe overwhelming, but you don’t NEED all of this stuff to get started. Bare minimum, you’ll need a daily schedule and a list of activities. More planning makes controlling your child’s education over the long term much more manageable, but if you’re getting your feet under you and just need to start, you could start today with the resources in this blog post.